Showing posts with label DIY. Show all posts

Saturday, October 13, 2012

Easy DIY Autumn Wreath Tutorial


After pinning so many fun autumnal decor ideas on my Pinterest board, I thought it was time to finally make something seasonal and festive!  Although I got alot of visual inspiration from the various pins, I ended up making my own version of a wreath that was very simple to make.  I got all the materials at a local craft store (hint: Michaels/ACMoore/etc often have discounts, such as 40% off all holiday decor)

All materials needed for this project


Materials:

-1 twig wreath
-hot glue gun
-seasonal decorated stems (3 or more)
-wire cutter (optional, but helps)

Directions:

1. Purchase at least three or more seasonal decorative stems decor (often found in the floral aisle).  I used five for my project, so that I had more choice for what I wanted to put on my wreath.  The stems don't have to be identical - actually, it can be more interesting to get all different decorative floral stems!
Sample of a decorative floral stem

 2. Next, separate each item from each of the stem cluster.  Sometimes they pull right out, or else use your wirecutters and cut them as close to the main base stem as possible.  You want the individual wire to be long, so it can go inside your wreath later. 

Individual stems separated


 3. Now comes the fun part - arrange all the pieces on the wreath to your liking.  DON'T use the gluegun yet, as you want to plan what you want your wreath to look like when it's completed; this way you can rearrange things as you see fit.  Thread the wire ends of each piece into your twig wreath so that it doesn't protrude out the other side.  As you are doing this step, you can go ahead and plug in your glue gun so that it can get warmed up. 

arrange your decorations

 4. When you are satisfied with your floral arrangement, you can go ahead and use your glue gun to hold down each of your pieces.  Be careful, the tip is hot, adults should help out smaller children during this step. 
 
glue down your arranged pieces

5. This step is optional, but since I had some left over pieces and items I didnt end up using, I filled them inside some lanterns; they make nice centerpieces for your dining table!
 
left items can still make fun household decor

 6. After your wreath is dry, go ahead and hang it on your door, viola! 

Finished Autumn Wreath


Sunday, December 11, 2011

Christmas and Holidays How-To DIY Tutorials Decor


Now that I am done with my very last academic class EVER, I am taking a little breather before getting into dissertation-writing mode, and eager to do some home decorating for the holidays!

I love finding so much inspiration from just googling and surfing around the internet. Here's just some of the fun ideas on how to make an upcycled tree ornament, holiday card display, holiday embroidery hoop, advent calendar, seasonal wreath, and a new spin on the paper snowflake!

I am a big fan of upcycled items, its so exciting to bring new life into something! Here is a great idea from www.bhg.com about how to turn a sweater into a cute knitted tree ornament!

Martha Stewart is also the queen of all things crafty, I think this is such a great idea to display all the holiday cards you get each year with this DIY holiday card tree display .  All the other organizing tips in her post are helpful too, e.g., storing some small ornaments in an egg carton, using a hanging funnel to help make using twine and yarn easier, etc.  Here are some of her holiday organizing tips.


Here is a fun idea and new spin on how to use an embroidery hoop to make a seasonal holiday hoop or holiday ornament.  I love all the fun colors! DIY holidays embroidery hoops


I love this idea for an advent calendar in bystephanielynn 's blog where each day, as we get closer to Christmas day, she moves each ornament from the frame and onto the tree.  Here is her advent calendar how-to


I have also been on the hunt for fun ideas on how to make my own holiday wreath...I came across this great blogpost about how to make a fun yarn wreath that is great for making wreaths for any occasion, not just the Christmas holiday season, great idea!  Here is the detailed tutorial by MomsAdvice on making a yarn wreath.

 Usually I read www.boston.com to find out about the latest news in my area, but stumbled upon this lil post about how to make a 3-D snowflake that looks really cool to try out.   Even www.wikihow.com has a how-to tutorial as well.

Happy Crafting!


Tuesday, November 15, 2011

How-to: Thanksgiving centerpiece idea - Cornhusk Flowers


I just love autumnal decor, and with Thanksgiving around the corner, I was on the look out for centerpieces that would be festive and fitting for the big Thanksgiving dinner gathering.  I stumbled upon this clever idea on marthastewart.com on how to make Cornhusk flowers! You can click the links to see all the steps, or I have copy/pasted them below. 

For Cosmos and Daisies:
  • Printable template
  • Card stock (for templates)
  • Dried cornhusks (available at crafts stores and Mexican food shops)
  • Paper towels
  • Scissors
  • Pinking shears
  • Wire, 18- and 32-gauge
  • Dried corn kernels
  • Butter knife
  • Clear varnish
  • White glue
  • Tweezers
  • Brown floral tape
For Sunflowers:
  • Printable template
  • Card stock (for base and templates)
  • Dried corn kernels
  • Hot-glue gun
  • Tweezers
  • Cornhusks
  • Scissors
  • Wire, 18-gauge
  • Wooden dowel, 1/4-inch diameter
  • White floral tape

Read more at Marthastewart.com: Cornhusk Flowers - Martha Stewart Crafts

Step 1

Prepare Cornhusks

For all flowers, soak cornhusks in water for 2 to 3 minutes; blot dry with paper towels. For petals and other shapes, copy template onto card stock. Cut out and place template on slightly damp husk, and then cut shapes. Using your fingers, cup and shape petals while they dry. To make pink husks, soak purple and off-white cornhusks together in a bowl of water overnight. Blot dry with paper towels before using.

Step 2

Make Cosmos and Daisies

These delicate blossoms can be any color and can have either fringed or corn-kernel centers. To make multiple petals, fold a still-damp cornhusk accordion-style, place petal template on top, and cut out, making sure the grain runs vertically. Edge the top of each cosmos petal individually with pinking shears (see finished cosmos petals in step 4). Form stamen by rolling inner strip tightly, and wrap twice with end of wire; roll outer strip around that, and wrap wire again. Make a single center for cosmos, a double for daisies. Fasten with 3-foot length of 32-gauge wire. Attach petals to stamen, wrapping twice with wire each time.


Step 3

Make Flower Centers and Stem

For corn-kernel flower centers, pry kernels from the cob with a butter knife. Seal kernels with clear varnish spray before using to discourage weevils. Make an unfringed stamen, folding center rectangle in half lengthwise (for daisies, use only inner center), rolling tightly, and fastening with wire. Using white glue, affix several kernels to center after attaching petals (a pair of tweezers is helpful for handling kernels). Insert a length of 18-gauge wire into base of stamen; trim to desired stem length, and finish by wrapping with floral tape.


Step 4

Arrange Finished Cosmos and Daisies

Place finished cosmos and daisies in a vase to create a seasonal arrangement.


Step 5

Make Sunflowers

For each sunflower, cut a 4-inch square of heavy red or orange card stock. Use tweezers to pick up a kernel of corn, dab with hot glue, and attach to center of card stock. Repeat, arranging glued kernels in pattern indicated in photo. Continue to add rows of kernels until the flower center is desired size, between 2 and 3 inches across; cut out. Next, cut out 45 to 50 petals in desired size (use small-petal template for 2-inch center; use large petal for 3-inch center), using accordion-fold technique. Hot-glue the petals, one at a time, onto the back of the center disk, making 3 staggered rows so petals overlap.


Step 6

Attach the Stem

Cut a 10-inch length of 18-gauge wire and bend in half, forming a 1-inch loop at top. Bend wire gently just below loop to make flower's neck. Attach the wire to the end of a 1/4-inch-diameter wooden dowel, about 3 inches from the loop, and secure with white floral tape. Hot-glue the loop to back of flower disk. Cut out 15 to 20 calyx petals, using accordion-fold technique.

Step 7

Make Calyx

Hot-glue calyx petals to back of disk, one at a time, in staggered rows, covering entire back from edge of flower to top of dowel. Trim dowel to desired stem length. Cut 1-inch-wide strips of cornhusk. Wrap stem with strips: Hot-glue one end to top of dowel, where calyx petals end, wrap, and hot-glue at other end. Repeat until stem is covered.


Step 8

Arrange Finished Sunflowers

Place finished sunflowers in a vase to create a seasonal arrangement.

All images and directions are from marthastewart.com 
Read more at Marthastewart.com: Cornhusk Flowers - Martha Stewart Crafts

Thursday, November 10, 2011

How-To: Thanksgiving decor ideas


 With Thanksgiving coming up around the corner, I have been on the lookout for festive autumnal handmade centerpiece & decor ideas.  Here are a few fun ideas I found, click the links to read their How-to instructions.


"Cornhusk flowers" by Martha Stewart 
I love the idea of incorporating indian corn in a new inventive way. 

I just love candles, and autumn colors would definitely make the Thanksgiving table more festive.  These would also look great on a fire mantle or on your entrance table.


A different twist for if you like a more subtle colored centerpiece. I love how you add the  small votive candle to the top, making this a functional centerpiece as well. 
This looks like such a fun idea for the family to come together and think up ideas to then incorporate into placemats - they seem like they'd make great discussion pieces! I like the idea of writing things like what you are  "thankful for."

Sunday, May 15, 2011

Fun Project Idea: Literary Lamp


I was surfing through the Etsy blog, and found this interesting How-To listed. It was in this blogpost that listed several of the top entries for the ReadyMade contest, which some of the top choices are now published in the April/May 2011 magazine that you can pick up at your local magazine stand, or checkout their website. Here are a few of the ones that struck my eye and inspiration:

I love the idea of turning an old slide carousel into a grow lamp for a small plant!


I also like the geeky bar table covered in old keyboard letter keys. Maybe if I can gather all my computer-science-teaching parents old keyboards, I could have enough to make this too!


I also like this fun bright wooden block table made out of old children's wooden play blocks.


These all seem like cool, ambitious projects, but perhaps I'll try out the book lamp idea first, hopefully i can find most of the supplies that is!


All of the directions for the other items can easily be found by clicking the hyperlinks... feel free to start these projects and let me know how it goes! As for the book lamp, here is the directions on their website: Step-by-Step Directions

For instant gratification, the directions are also copy/pasted below:

1

Measure the circumference of the shaft leading up to the bulb, and look for books (with quality binding) of approximately this thickness.

2

Find the middle of one of the books and lay it open. Take the upper corner of the left-hand page and fold it inward to the spine. Repeat with right-hand page to create an arrow-shape. Continue with all the rest of the pages.

3

Trace the folded page onto the inside front and back covers.

4

Use a table saw (or strong scissors) to cut away the parts of the cover that are sticking out.

5

Create the other forms, varying the folding as you like (and dotting with glue for security); roll the pages inward as teardrops or cut half circles.

6

Wrap book around shaft and glue the covers together. Clamp with clothespins while drying. Add a book base, if desired, a bulb, and a shade (paint a plain shade for a custom color).


Saturday, April 2, 2011

How-To: New Spice Jars for Small Kitchens

One of the down sides to living in Boston is that houses usually dont have as much storage space. We live in a suburb outside of Boston so we are fortunate enough to have a bit more space than a smaller condo, however, our kitchen cabinet space is still minimal...we even opted from putting a fun spice rack on our wedding registry as there just isnt enough counter or cabinet space for a spice rack. However, it can still be tricky to find storage and enough shelf space for all these different cooking herbs and spices...which come in bottles that are all different shapes and sizes.
We decided to make a trip to Bed Bath and Beyond and found some convenient little glass spice bottles, and each cost only 99c. I then used some of the simple printer labels that I use for some of Etsy products. I could have probably made more decorative labels if I had more time, but these served their purpose. I also decided to print the titles in different colors to make things a little more distinctive at least.


I then created a paper funnel to help transfer the spices into the new jars. Trust me, when I first tried just pouring some of the rosemary in without the makeshift funnel, I ended up with rosemary all over the counter!


The jars fit perfectly inside the small spice rack that is build into one of our cabinet doors! :)

Thursday, August 19, 2010

Handmade Bonding


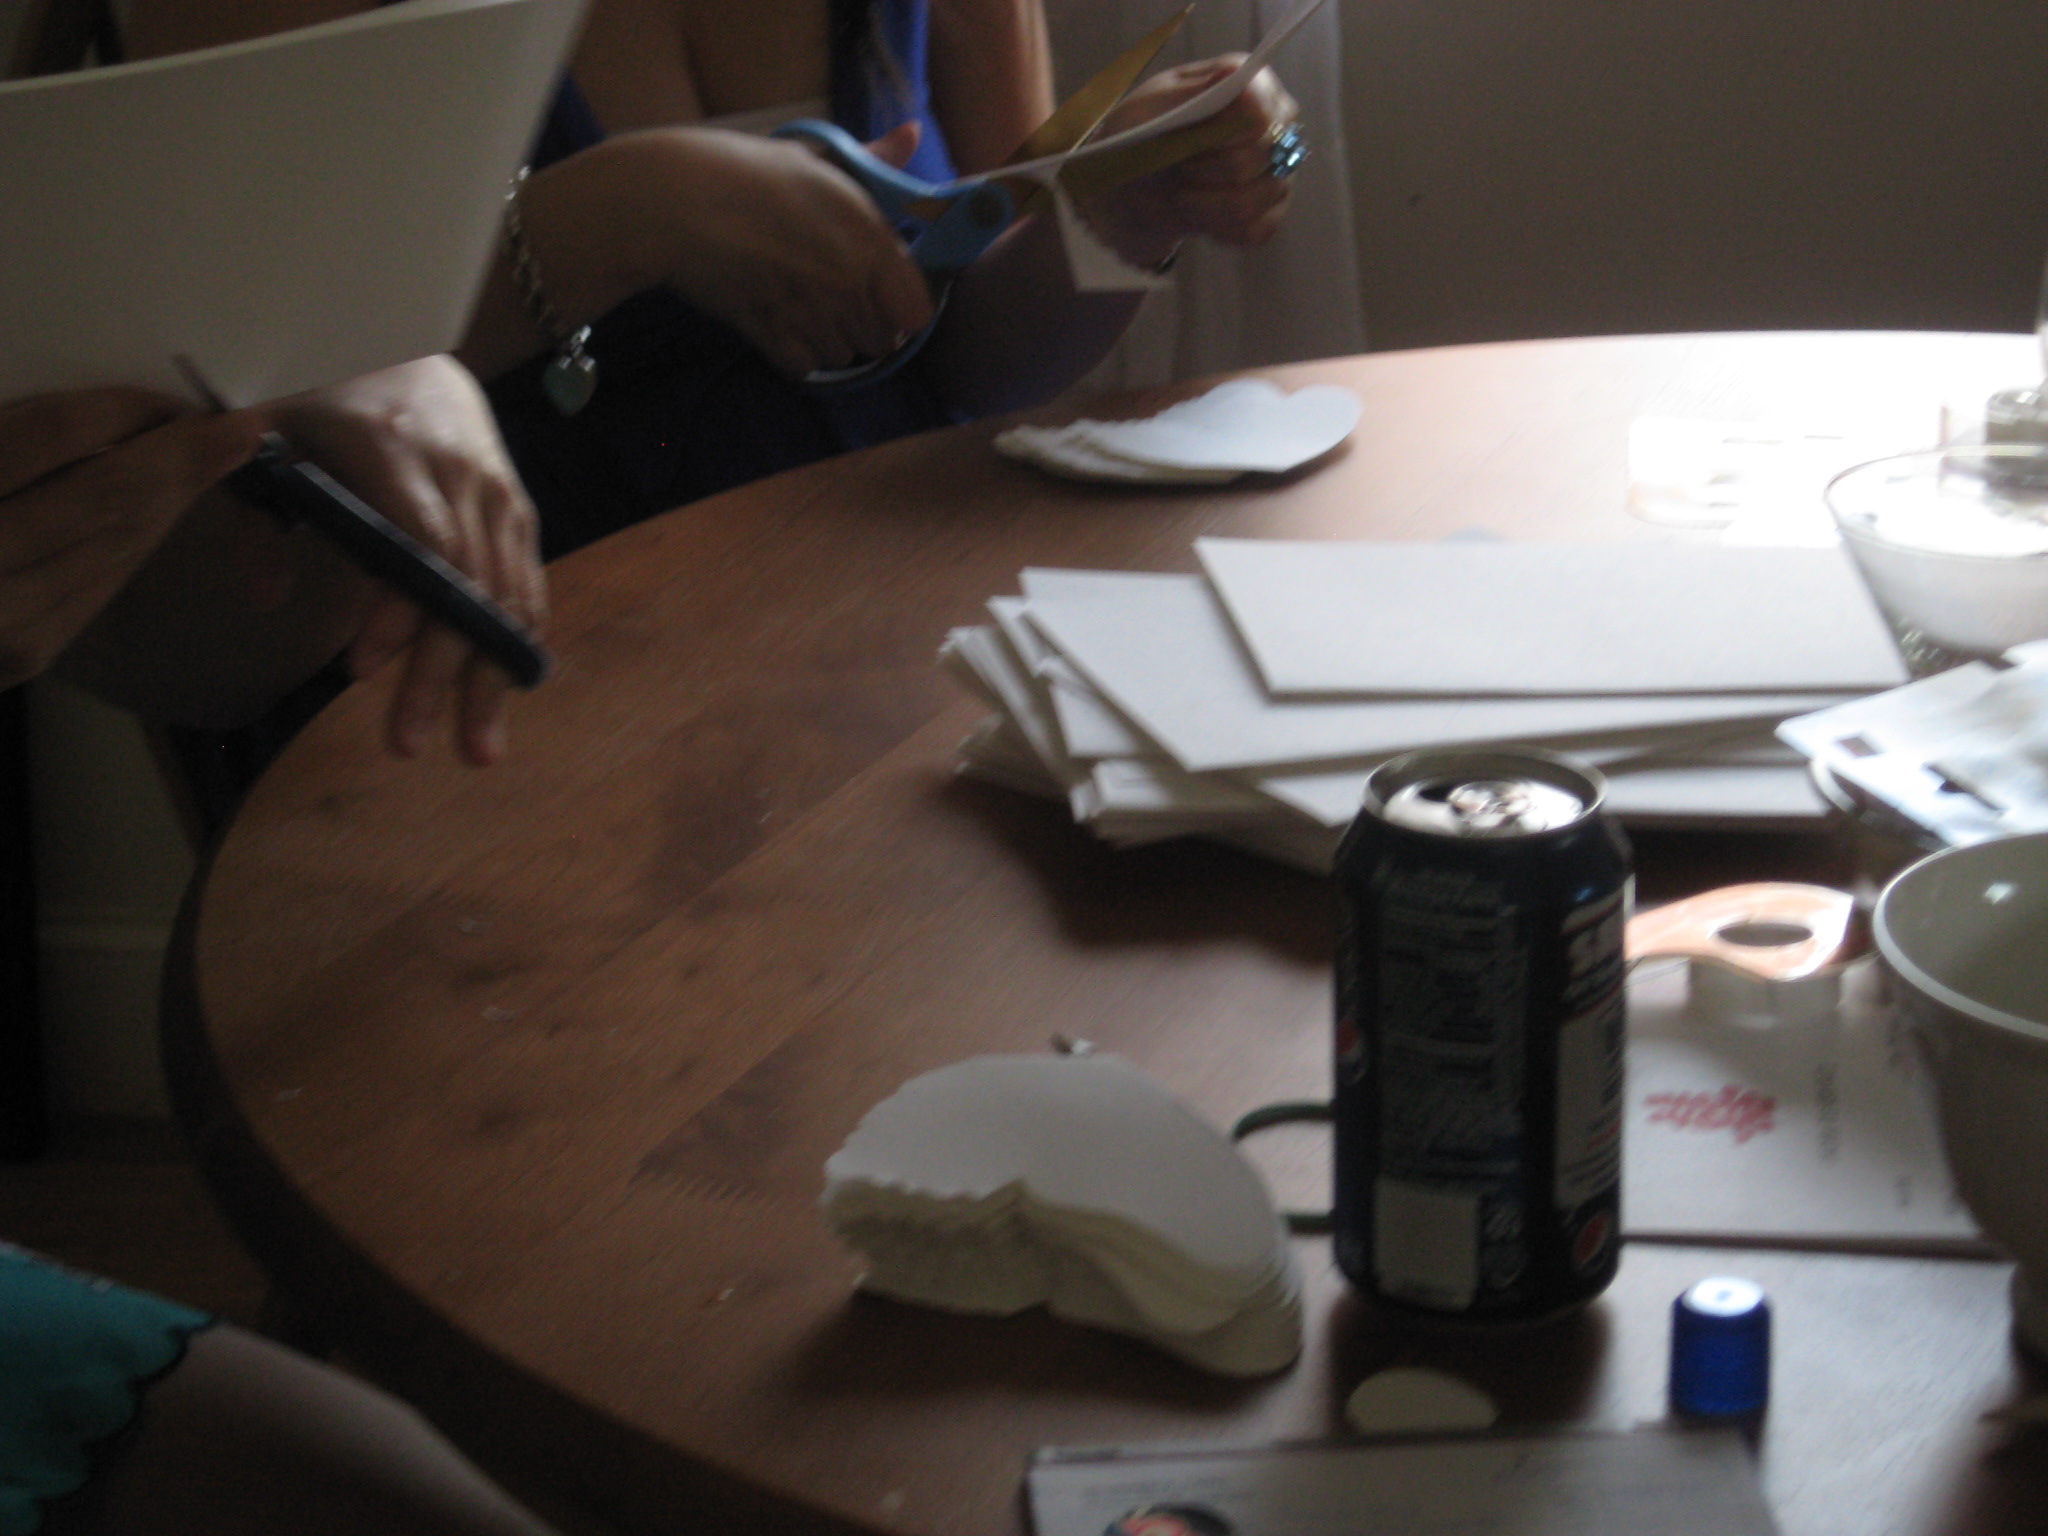
Planning a wedding can be a very stressful time, with lots of decision-making and organizing. During my own wedding, I try to find things we can do ourselves - not only to cut costs, but it seems more personal when I get to really be a part of the process. I have found the process to be fun and a bonding time for my fiance and me as well as my family members and good friends that I've recruited to help out!


Above is a picture of me printing out all our wedding invitations - we later had to assemble all the pieces and wrap with ribbon.


Here is a picture of my fiance Evan working so diligently on our wedding favors gift tins.


Here are my friends helping to assemble our wedding programs that double as fans! ;)


These butterflies will soon become place cards at the reception - and will rest on the wine glasses!


Hopefully next month, I'll be able to share some more photos of the final products displayed during the big day! :)