Showing posts with label autumn. Show all posts

Saturday, October 13, 2012

Easy DIY Autumn Wreath Tutorial


After pinning so many fun autumnal decor ideas on my Pinterest board, I thought it was time to finally make something seasonal and festive!  Although I got alot of visual inspiration from the various pins, I ended up making my own version of a wreath that was very simple to make.  I got all the materials at a local craft store (hint: Michaels/ACMoore/etc often have discounts, such as 40% off all holiday decor)

All materials needed for this project


Materials:

-1 twig wreath
-hot glue gun
-seasonal decorated stems (3 or more)
-wire cutter (optional, but helps)

Directions:

1. Purchase at least three or more seasonal decorative stems decor (often found in the floral aisle).  I used five for my project, so that I had more choice for what I wanted to put on my wreath.  The stems don't have to be identical - actually, it can be more interesting to get all different decorative floral stems!
Sample of a decorative floral stem

 2. Next, separate each item from each of the stem cluster.  Sometimes they pull right out, or else use your wirecutters and cut them as close to the main base stem as possible.  You want the individual wire to be long, so it can go inside your wreath later. 

Individual stems separated


 3. Now comes the fun part - arrange all the pieces on the wreath to your liking.  DON'T use the gluegun yet, as you want to plan what you want your wreath to look like when it's completed; this way you can rearrange things as you see fit.  Thread the wire ends of each piece into your twig wreath so that it doesn't protrude out the other side.  As you are doing this step, you can go ahead and plug in your glue gun so that it can get warmed up. 

arrange your decorations

 4. When you are satisfied with your floral arrangement, you can go ahead and use your glue gun to hold down each of your pieces.  Be careful, the tip is hot, adults should help out smaller children during this step. 
 
glue down your arranged pieces

5. This step is optional, but since I had some left over pieces and items I didnt end up using, I filled them inside some lanterns; they make nice centerpieces for your dining table!
 
left items can still make fun household decor

 6. After your wreath is dry, go ahead and hang it on your door, viola! 

Finished Autumn Wreath


Tuesday, November 15, 2011

How-to: Thanksgiving centerpiece idea - Cornhusk Flowers


I just love autumnal decor, and with Thanksgiving around the corner, I was on the look out for centerpieces that would be festive and fitting for the big Thanksgiving dinner gathering.  I stumbled upon this clever idea on marthastewart.com on how to make Cornhusk flowers! You can click the links to see all the steps, or I have copy/pasted them below. 

For Cosmos and Daisies:
  • Printable template
  • Card stock (for templates)
  • Dried cornhusks (available at crafts stores and Mexican food shops)
  • Paper towels
  • Scissors
  • Pinking shears
  • Wire, 18- and 32-gauge
  • Dried corn kernels
  • Butter knife
  • Clear varnish
  • White glue
  • Tweezers
  • Brown floral tape
For Sunflowers:
  • Printable template
  • Card stock (for base and templates)
  • Dried corn kernels
  • Hot-glue gun
  • Tweezers
  • Cornhusks
  • Scissors
  • Wire, 18-gauge
  • Wooden dowel, 1/4-inch diameter
  • White floral tape

Read more at Marthastewart.com: Cornhusk Flowers - Martha Stewart Crafts

Step 1

Prepare Cornhusks

For all flowers, soak cornhusks in water for 2 to 3 minutes; blot dry with paper towels. For petals and other shapes, copy template onto card stock. Cut out and place template on slightly damp husk, and then cut shapes. Using your fingers, cup and shape petals while they dry. To make pink husks, soak purple and off-white cornhusks together in a bowl of water overnight. Blot dry with paper towels before using.

Step 2

Make Cosmos and Daisies

These delicate blossoms can be any color and can have either fringed or corn-kernel centers. To make multiple petals, fold a still-damp cornhusk accordion-style, place petal template on top, and cut out, making sure the grain runs vertically. Edge the top of each cosmos petal individually with pinking shears (see finished cosmos petals in step 4). Form stamen by rolling inner strip tightly, and wrap twice with end of wire; roll outer strip around that, and wrap wire again. Make a single center for cosmos, a double for daisies. Fasten with 3-foot length of 32-gauge wire. Attach petals to stamen, wrapping twice with wire each time.


Step 3

Make Flower Centers and Stem

For corn-kernel flower centers, pry kernels from the cob with a butter knife. Seal kernels with clear varnish spray before using to discourage weevils. Make an unfringed stamen, folding center rectangle in half lengthwise (for daisies, use only inner center), rolling tightly, and fastening with wire. Using white glue, affix several kernels to center after attaching petals (a pair of tweezers is helpful for handling kernels). Insert a length of 18-gauge wire into base of stamen; trim to desired stem length, and finish by wrapping with floral tape.


Step 4

Arrange Finished Cosmos and Daisies

Place finished cosmos and daisies in a vase to create a seasonal arrangement.


Step 5

Make Sunflowers

For each sunflower, cut a 4-inch square of heavy red or orange card stock. Use tweezers to pick up a kernel of corn, dab with hot glue, and attach to center of card stock. Repeat, arranging glued kernels in pattern indicated in photo. Continue to add rows of kernels until the flower center is desired size, between 2 and 3 inches across; cut out. Next, cut out 45 to 50 petals in desired size (use small-petal template for 2-inch center; use large petal for 3-inch center), using accordion-fold technique. Hot-glue the petals, one at a time, onto the back of the center disk, making 3 staggered rows so petals overlap.


Step 6

Attach the Stem

Cut a 10-inch length of 18-gauge wire and bend in half, forming a 1-inch loop at top. Bend wire gently just below loop to make flower's neck. Attach the wire to the end of a 1/4-inch-diameter wooden dowel, about 3 inches from the loop, and secure with white floral tape. Hot-glue the loop to back of flower disk. Cut out 15 to 20 calyx petals, using accordion-fold technique.

Step 7

Make Calyx

Hot-glue calyx petals to back of disk, one at a time, in staggered rows, covering entire back from edge of flower to top of dowel. Trim dowel to desired stem length. Cut 1-inch-wide strips of cornhusk. Wrap stem with strips: Hot-glue one end to top of dowel, where calyx petals end, wrap, and hot-glue at other end. Repeat until stem is covered.


Step 8

Arrange Finished Sunflowers

Place finished sunflowers in a vase to create a seasonal arrangement.

All images and directions are from marthastewart.com 
Read more at Marthastewart.com: Cornhusk Flowers - Martha Stewart Crafts

Thursday, October 27, 2011

Apple Picking & Apple Cooking Adventures!


As mentioned in my previous post I have lived in New England all my life, yet often I get caught up in the hustle and bustle of life that I dont make as much time as I would prefer to soak in and enjoy the changing seasons and what makes New England so special.  Thus, this year I have made an effort to do more seasonal activities as well as another goal to also learn to cook more.  I hope to share in my adventures of both New Englandy fun as well as my meager attempts to learn to cook!  I'm no foodie, but I'm happy to share some of the things I have enjoyed and liked along the way!

Autumn is my favorite season, with the crispy cool air, red-orange-yellow foliage, the crunch of fallen leaves, and apple and pumpkin flavored goodies (e.g., pumpkin spice latte, cider donuts, caramel apples, etc), mmmm.  The other weekend we decided to go apple-picking for a triple couples date outing. 
 The bag got so heavy by the end, we needed teamwork to carry the 20+lb bag back to the car.


We also planned a 3-course meal, making 5 dishs, all using apples! We made some classic apple dishes (e.g., apple crisp) as well as unique dishes including apples (e.g., curried eggs and apple). 

Our dishes included:
1. Salad: cranberry/grape, apple, and nut salad
2. Appetizer/Entree: curried eggs & apple
3. Entree: sweet potato & apple gratin
4. Entree: pork chops with golden apple sauce
5. Dessert: apple crisp

Prepping the "curried eggs and apples" dish


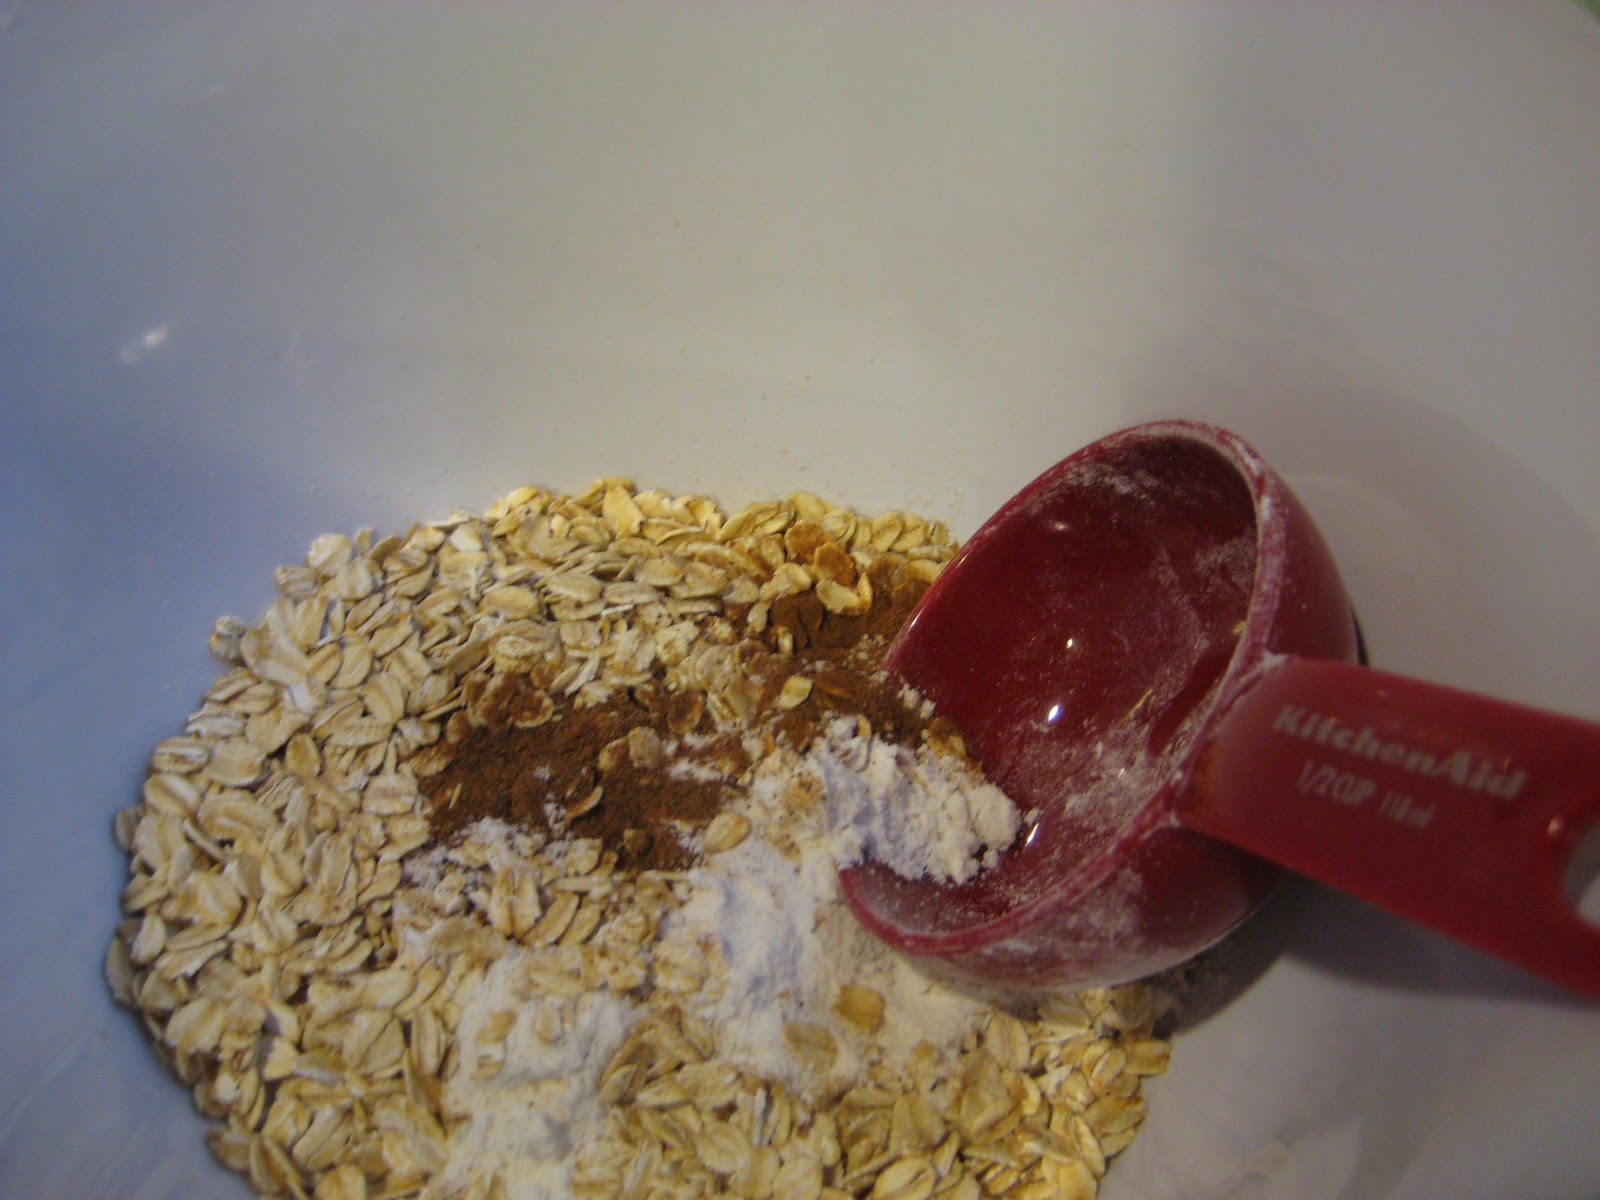
Mixing up the oats to put into our apple crisp

 Braising the apples for the golden apple topping for the porkchops


 Stirring up the topping for our salad, with apples, green onions, and pistachios mixed in a light lime dijon dressing mixture

 Layering up the sweet potato & apple gratin 

Final products!

Close up of some of the finished dishes!


All the dishes were delicious, but my favorite was the pork chops dish.  We used the simple Rachel Ray recipe below:

Pork Chops with Golden Apple Sauce

Ingredients
  • 4 Golden Delicious apples, chopped
  • 2 teaspoons lemon juice
  • 2 ounces golden raisins, a handful
  • 1-inch piece fresh ginger root
  • 3 tablespoons light brown sugar
  • 2 cups all natural apple juice or cider, plus a splash for pan sauce
  • 1/2 teaspoon ground cinnamon
  • 1/4 teaspoon freshly grated nutmeg
  • 2 tablespoons vegetable oil or olive oil, 2 turns of the pan
  • 4 (1-inch) thick center cut boneless pork loin chops, 6 to 8 ounces each
  • Salt and pepper
  • 2 tablespoons butter
Directions
Combine first 8 ingredients in a medium pot placed over medium high heat and cook until a chunky sauce forms, 10 to 12 minutes, stirring occasionally. If sauce begins to spatter as it bubbles, reduce heat back a little, but it should be allowed to reduce and form quickly. Once apples are soft and sauce forms, remove it from the heat.
Heat a large nonstick skillet over medium high heat. Add oil to the pan. Season chops on 1 side with salt and pepper. Using a pair of tongs, add chops to hot skillet seasoned side down. Season the opposite side of the chops with salt and pepper. Brown and caramelize the chops 2 minutes on each side, then reduce heat to medium and cook another 5 to 6 minutes, turning occasionally, until juices run clear. Remove chops from heat and let them rest a couple of minutes for juice to redistribute. Deglaze the pan with a splash of apple juice and 2 tablespoons of butter. Pour pan sauce over chops. Remove ginger from the sauce and top chops with generous portions of warm golden apple sauce.


Monday, October 24, 2011

New England Fun and Cooking Adventures: Apple Cinnamon Upside Down Cake Recipe

I have lived in New England all my life, yet often I get caught up in the hustle and bustle of life that I dont make as much time as I would prefer to soak in and enjoy the changing seasons and what makes New England so special.  Thus, this year I have made an effort to do more seasonal activities as well as another goal to also learn to cook more.  I hope to share in my adventures of both New Englandy fun as well as my meager attempts to learn to cook!  I'm no foodie, but I'm happy to share some of the things I have enjoyed and liked along the way!

Autumn is my favorite season, with the crispy cool air, red-orange-yellow foliage, the crunch of fallen leaves, and apple and pumpkin flavored goodies (e.g., pumpkin spice latte, cider donuts, caramel apples, etc), mmmm.  The other weekend we decided to go apple-picking for a triple couples date outing.  We also planned a 3-course meal, making 5 dishs, all using apples!  I will include a more detailed post on that adventure later, but I still had plenty of leftover apples, so I continue to hunt for good recipes using apples!  The other day we went to a potluck, so I searched around for more desserts using apples, that wasnt apple crisp or apple pie.  My hubby and I experimented with an Apple-Cinnamon Upside Down Cake, and it turned out to be quite tasty!  It still has the autumnal flavors of apple crisp and apple pie with a slightly different texture for those looking for something familiar but new.

This is the recipe we ended up using from About.com :


Ingredients:

  • 3 large golden delicious apples
  • 2/3 cup light brown sugar, packed
  • 1 scant teaspoon ground cinnamon
  • 4 tablespoons melted butter
  • .
  • Cake
  • 1 3/4 cup all-purpose flour, stirred before measuring
  • 1/4 teaspoon salt
  • 2 teaspoons baking powder
  • 1 teaspoon cinnamon
  • 1/2 cup butter, room temperature
  • 3/4 cup granulated sugar
  • 2 large eggs
  • 1 teaspoon vanilla extract
  • 2/3 cup milk

Preparation:

Heat oven to 325°. Butter a 9-inch square cake pan or spray with baking spray. Core the apples and cut into wedges; peel and slice thinly. Combine apple slices with the brown sugar, 1 scant teaspoon of cinnamon, and 4 tablespoons of melted butter. Arrange the apple mixture in the prepared baking pan.
Combine the flour, salt, baking powder, and 1 teaspoon cinnamon in a bowl. In a large mixing bowl with electric mixer, beat butter with the sugar until light and fluffy. Beat in eggs and vanilla extract. Add the flour mixture to the first mixture, alternating with the milk, beating just until blended. Spoon the batter evenly over the apple slices; gently spreading to cover. Bake for 55 to 65 minutes, or until a toothpick inserted in the center of the cake comes out clean.
Invert the hot cake onto a platter or cake plate and let stand for about 5 minutes. Remove the pan and scrape up any fruit slices clinging to the pan and arrange them over the cake.